In today’s competitive landscape, startups need every advantage they can get. Integrating AI APIs into web applications has become a game-changer, allowing even small teams to implement sophisticated features without extensive AI expertise. This guide walks you through selecting the right APIs, implementing them efficiently, and optimizing performance—all while keeping costs manageable for your startup budget.
Why Startups Should Adopt AI APIs
Building AI capabilities from scratch requires significant resources—data scientists, massive datasets, and months of development time. For startups, this approach is rarely feasible. AI APIs offer a powerful alternative, allowing you to:
Launch AI-powered features in days instead of months
Leverage pre-trained models without machine learning expertise
Scale capabilities as your user base grows
Focus development resources on your core product
Stay competitive with larger companies
According to recent studies, startups that implement AI features see up to 30% higher user engagement and 25% better retention rates. The key is knowing which APIs to choose and how to integrate them effectively.
Get Our Free AI API Integration Checklist
Download our comprehensive checklist to ensure you’ve covered all bases when integrating AI APIs into your web application.
The AI API landscape is vast, with options ranging from general-purpose language models to specialized tools for specific tasks. Your selection should be guided by your specific use case, budget constraints, and technical requirements.
Popular AI APIs by Category
Category
Top APIs
Best For
Pricing Model
Implementation Complexity
Natural Language Processing
OpenAI GPT-4, Google Natural Language API, Azure Language Understanding
Google Speech-to-Text, AWS Transcribe, Microsoft Speech Service
Voice commands, transcription, accessibility
Pay-per-minute
Medium
Predictive Analytics
BigML, Google Prediction API, AWS Forecast
User behavior prediction, recommendation engines
Tiered subscription
High
Translation
Google Translate API, DeepL API, Microsoft Translator
Multi-language support, content localization
Pay-per-character
Low
Selection Criteria for Startups
When evaluating AI APIs for your web application, consider these factors:
Technical Considerations
API reliability and uptime guarantees
Documentation quality and code examples
SDK availability for your tech stack
Response time requirements
Scalability as your user base grows
Business Considerations
Free tier availability for testing
Pricing predictability as usage scales
Data privacy and ownership terms
Support options and SLAs
Provider stability and longevity
“Don’t just choose the most powerful AI API—choose the one that best fits your specific use case, technical capabilities, and budget constraints.”
— Sarah Chen, CTO at AI Ventures
Implementation Framework: Adding AI to Your Web App
Once you’ve selected your AI APIs, it’s time to implement them in your web application. This section provides a step-by-step framework for successful integration.
Authentication Best Practices
Proper API key management is crucial for both security and functionality. Never expose your API keys in client-side code or commit them to public repositories.
Security Warning: Exposing API keys in client-side JavaScript can lead to unauthorized usage and potentially significant charges to your account.
Server-Side Authentication (Recommended)
// Node.js example with environment variables
require('dotenv').config();

const express = require('express');
const axios = require('axios');
const app = express();

// Store API key in environment variable
const AI_API_KEY = process.env.AI_API_KEY;

// Create proxy endpoint for client requests
app.post('/api/analyze-text', async (req, res) => {
  try {
    const response = await axios.post(
      'https://api.openai.com/v1/completions',
      {
        model: "text-davinci-003",
        prompt: req.body.text,
        max_tokens: 100
      },
      {
        headers: {
          'Authorization': `Bearer ${AI_API_KEY}`,
          'Content-Type': 'application/json'
        }
      }
    );

    res.json(response.data);
  } catch (error) {
    console.error('API Error:', error.response?.data || error.message);
    res.status(500).json({ error: 'Failed to process request' });
  }
});

app.listen(3000, () => console.log('Server running on port 3000'));
Step-by-Step Integration Example: Adding ChatGPT to a React App
Let’s walk through adding a ChatGPT-powered assistant to a React application:
Integrating AI APIs into web applications is just the first step. To ensure optimal performance and cost-efficiency, consider these optimization strategies:
Caching Strategies
AI API calls can be expensive and slow. Implementing effective caching can significantly reduce costs and improve user experience.
// Example: Redis caching for API responses
const redis = require('redis');
const client = redis.createClient();
const CACHE_EXPIRATION = 3600; // 1 hour in seconds

app.post('/api/analyze-sentiment', async (req, res) => {
  const inputText = req.body.text;
  const cacheKey = `sentiment:${hashString(inputText)}`;

  // Try to get from cache first
  try {
    const cachedResult = await client.get(cacheKey);
    if (cachedResult) {
      console.log('Cache hit!');
      return res.json(JSON.parse(cachedResult));
    }
  } catch (err) {
    console.error('Redis error:', err);
    // Continue with API call if cache fails
  }

  // Cache miss - call the API
  try {
    const result = await callSentimentAPI(inputText);

    // Store in cache for future requests
    await client.set(cacheKey, JSON.stringify(result), {
      EX: CACHE_EXPIRATION
    });

    res.json(result);
  } catch (error) {
    res.status(500).json({ error: 'API request failed' });
  }
});

// Simple hash function for cache keys
function hashString(str) {
  let hash = 0;
  for (let i = 0; i

Error Handling Best Practices
Robust error handling is essential when working with external APIs. Implement these strategies to ensure your application remains responsive even when API calls fail.


Client-Side Error Handling

Implement loading states for better UX
Provide meaningful error messages
Add retry mechanisms with exponential backoff
Gracefully degrade functionality when APIs are unavailable


Server-Side Error Handling

Implement timeout handling
Log detailed error information
Set up monitoring and alerts
Use circuit breakers to prevent cascading failures


Cost-Efficient API Usage
AI APIs can quickly become expensive as your application scales. Implement these strategies to keep costs under control:
Request Batching: Combine multiple requests into a single API call when possible
Right-Size Your Models: Use the smallest model that meets your quality requirements
Implement Rate Limiting: Prevent abuse and unexpected costs from high volumes
Set Usage Alerts: Configure notifications when approaching budget thresholds
Optimize Prompt Engineering: Craft efficient prompts to reduce token usage
“The difference between a well-optimized and poorly optimized AI integration can be a 10x difference in cost and performance.”
— Michael Rodriguez, Lead Developer at TechStartups.io
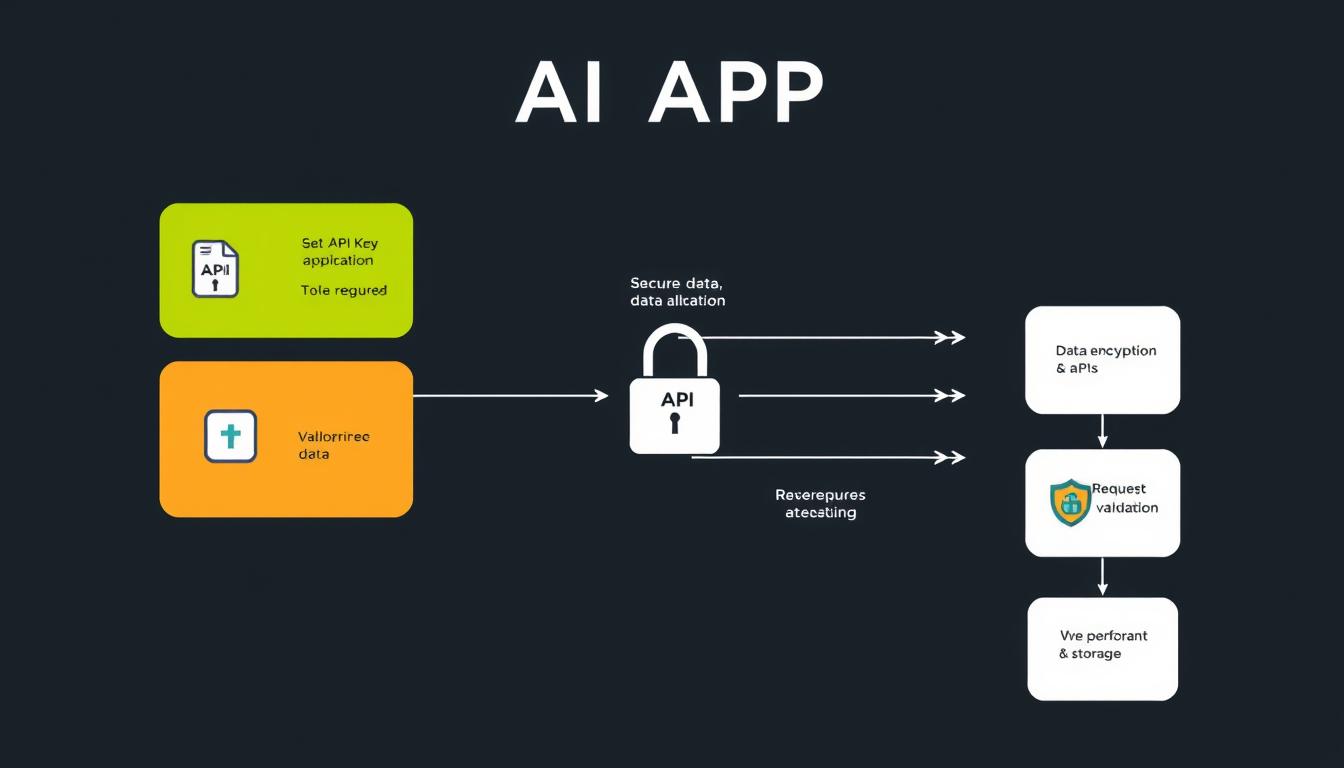
Security Considerations for AI API Integration
When integrating AI APIs into web applications, security should be a top priority. Third-party APIs introduce new potential vulnerabilities that must be addressed.
Protecting User Data
Many AI APIs process sensitive user data. Implement these measures to ensure data protection:
Data Minimization: Only send the minimum data required for the API to function
Anonymization: Remove or mask personally identifiable information before API calls
Transparent Privacy Policies: Clearly inform users about data processing by third parties
Data Retention Controls: Understand and configure how long the API provider stores your data
Encryption: Use TLS/SSL for all API communications
Secure API Key Management
Proper API key management is essential to prevent unauthorized access and potential abuse:
// NEVER do this in production
// BAD EXAMPLE - Exposing API key in frontend code
const apiKey = "sk-1234567890abcdef";
fetch('https://api.openai.com/v1/completions', {
  headers: { 'Authorization': `Bearer ${apiKey}` }
});

// GOOD EXAMPLE - Using environment variables on server
// .env file (add to .gitignore)
// OPENAI_API_KEY=sk-1234567890abcdef

// Server-side code
require('dotenv').config();
const apiKey = process.env.OPENAI_API_KEY;

// Additional security: Restrict API key by IP and set usage limits
Critical Security Warning: Never store API keys in client-side code, GitHub repositories, or any other public location. Use environment variables and server-side proxies to make API calls.
Input Validation and Sanitization
Protect against prompt injection and other attacks by validating and sanitizing user inputs:
// Example: Basic input validation before sending to AI API
function validateAndSanitizeInput(userInput) {
  // Check for empty or too large inputs
  if (!userInput || userInput.length === 0) {
    throw new Error('Input cannot be empty');
  }

  if (userInput.length > 1000) {
    throw new Error('Input exceeds maximum length');
  }

  // Basic sanitization
  let sanitized = userInput
    .trim()
    .replace(/[]/g, ''); // Remove potential HTML tags

  // Additional validation specific to your use case
  // ...

  return sanitized;
}

// Usage
app.post('/api/generate', (req, res) => {
  try {
    const sanitizedInput = validateAndSanitizeInput(req.body.prompt);
    // Proceed with API call using sanitizedInput
  } catch (error) {
    res.status(400).json({ error: error.message });
  }
});
Case Study: AI API Integration Success Story
To illustrate the real-world impact of AI API integration, let’s examine how a fictional startup, CodeBuddy, transformed their developer tool with strategic AI implementation.
The Challenge
CodeBuddy, a startup offering a collaborative code editor for development teams, faced several challenges:
Users were spending too much time debugging simple errors
Documentation creation was a major pain point for teams
User engagement was declining as competitors added AI features
Limited development resources to build AI capabilities in-house
The Solution: Strategic AI API Integration
CodeBuddy implemented a multi-faceted AI strategy using several APIs:
OpenAI Codex API
Added real-time code suggestions
Implemented automated code review
Created a natural language to code generator
Google Natural Language API
Automated documentation generation
Added sentiment analysis for team communication
Implemented code explanation in plain English
Implementation Approach
CodeBuddy followed these key steps:
Started with a small pilot feature (code suggestions) to validate the approach
Used server-side API calls to protect API keys and optimize performance
Implemented aggressive caching to reduce costs and improve response times
Added clear user feedback about AI-powered features and data usage
Gradually expanded AI capabilities based on user feedback
The Results
Within three months of implementation, CodeBuddy saw dramatic improvements:
40% increase in user engagement metrics
25% reduction in time spent debugging code
50% increase in documentation completion rates
30% growth in user base within 90 days
15% increase in conversion from free to paid plans
“Integrating AI APIs transformed our product from a simple code editor to an intelligent coding assistant. The implementation was surprisingly straightforward, and the impact on our business metrics was immediate and significant.”
— Jamie Chen, CTO at CodeBuddy
Tools & Resources for AI API Integration
To help you get started with integrating AI APIs into your web applications, we’ve compiled a curated list of valuable tools, SDKs, and resources.
Download our comprehensive guide with detailed code examples, best practices, and optimization techniques for integrating AI APIs into your web application.
Troubleshooting FAQ: Common AI API Integration Issues
Even with careful planning, you may encounter challenges when integrating AI APIs into your web applications. Here are solutions to common issues:
Why am I getting “Authentication Error” responses from the API?
This typically indicates an issue with your API key. Check that:
Your API key is correctly formatted and valid
You’re using the correct authentication method (Bearer token, API key header, etc.)
Your account has sufficient credits or is in good standing
The API key has the necessary permissions for the endpoints you’re calling
Solution: Verify your API key in the provider’s dashboard and ensure you’re following their specific authentication requirements.
Why are my API responses extremely slow?
Slow responses can be caused by several factors:
Complex or lengthy prompts requiring more processing time
Network latency between your server and the API provider
Rate limiting or throttling by the API provider
Server-side processing bottlenecks
Solution: Implement caching for common requests, optimize prompt length, add loading indicators for users, and consider using a more powerful model tier if available.
How do I handle rate limiting and quota exceeded errors?
Most AI APIs implement rate limits to prevent abuse:
Implement exponential backoff for retry logic
Add request queuing for high-traffic applications
Monitor your usage and set up alerts before reaching limits
Consider upgrading your plan for higher rate limits
Why am I getting inconsistent or unexpected responses?
AI models have inherent variability, but excessive inconsistency might indicate:
Unclear or ambiguous prompts
Temperature setting too high (increasing randomness)
Insufficient context provided to the model
Model limitations for your specific use case
Solution: Refine your prompts with clear instructions, adjust temperature settings (lower for more consistency), and provide sufficient context in your requests.
How can I reduce API costs as my application scales?
AI API costs can grow quickly with scale. Consider these strategies:
Implement aggressive caching for common requests
Use smaller, more efficient models when possible
Optimize prompts to reduce token usage
Implement user quotas or tiered access
Batch similar requests together
Solution: Monitor usage patterns and implement a combination of these strategies based on your specific traffic patterns and use cases.
Getting Started with AI API Integration Today
Integrating AI APIs into your web applications doesn’t have to be complex or time-consuming. By following the framework and best practices outlined in this guide, you can quickly add powerful AI capabilities to your startup’s product.
Remember these key takeaways:
Start small with a focused use case that delivers clear value
Prioritize security and proper API key management
Implement caching and optimization from the beginning
Monitor costs and performance as you scale
Continuously refine your implementation based on user feedback
The AI landscape is evolving rapidly, but the fundamental principles of good API integration remain consistent. By building on these foundations, your startup can leverage cutting-edge AI capabilities without the massive investment typically associated with artificial intelligence.
Need Help With Your AI Integration?
Our team of experienced developers can help you implement AI APIs in your web application quickly and efficiently.